Rainbow Cloud Craft: A Bright and Cheerful Paper Project for Kids
If you’re looking for a simple, budget-friendly craft that instantly brightens your day, this rainbow cloud craft is the perfect choice. It’s colorful, easy to make, and ideal for kids of all ages—from preschoolers practicing their scissor skills to older children who love adding creative details.
Whether you’re planning a classroom activity, a weekend craft session, or just need a fun way to keep little hands busy on a rainy afternoon, this cheerful project delivers big smiles with minimal supplies. Plus, it doubles as adorable décor for playrooms, bulletin boards, or even seasonal displays for spring and summer.
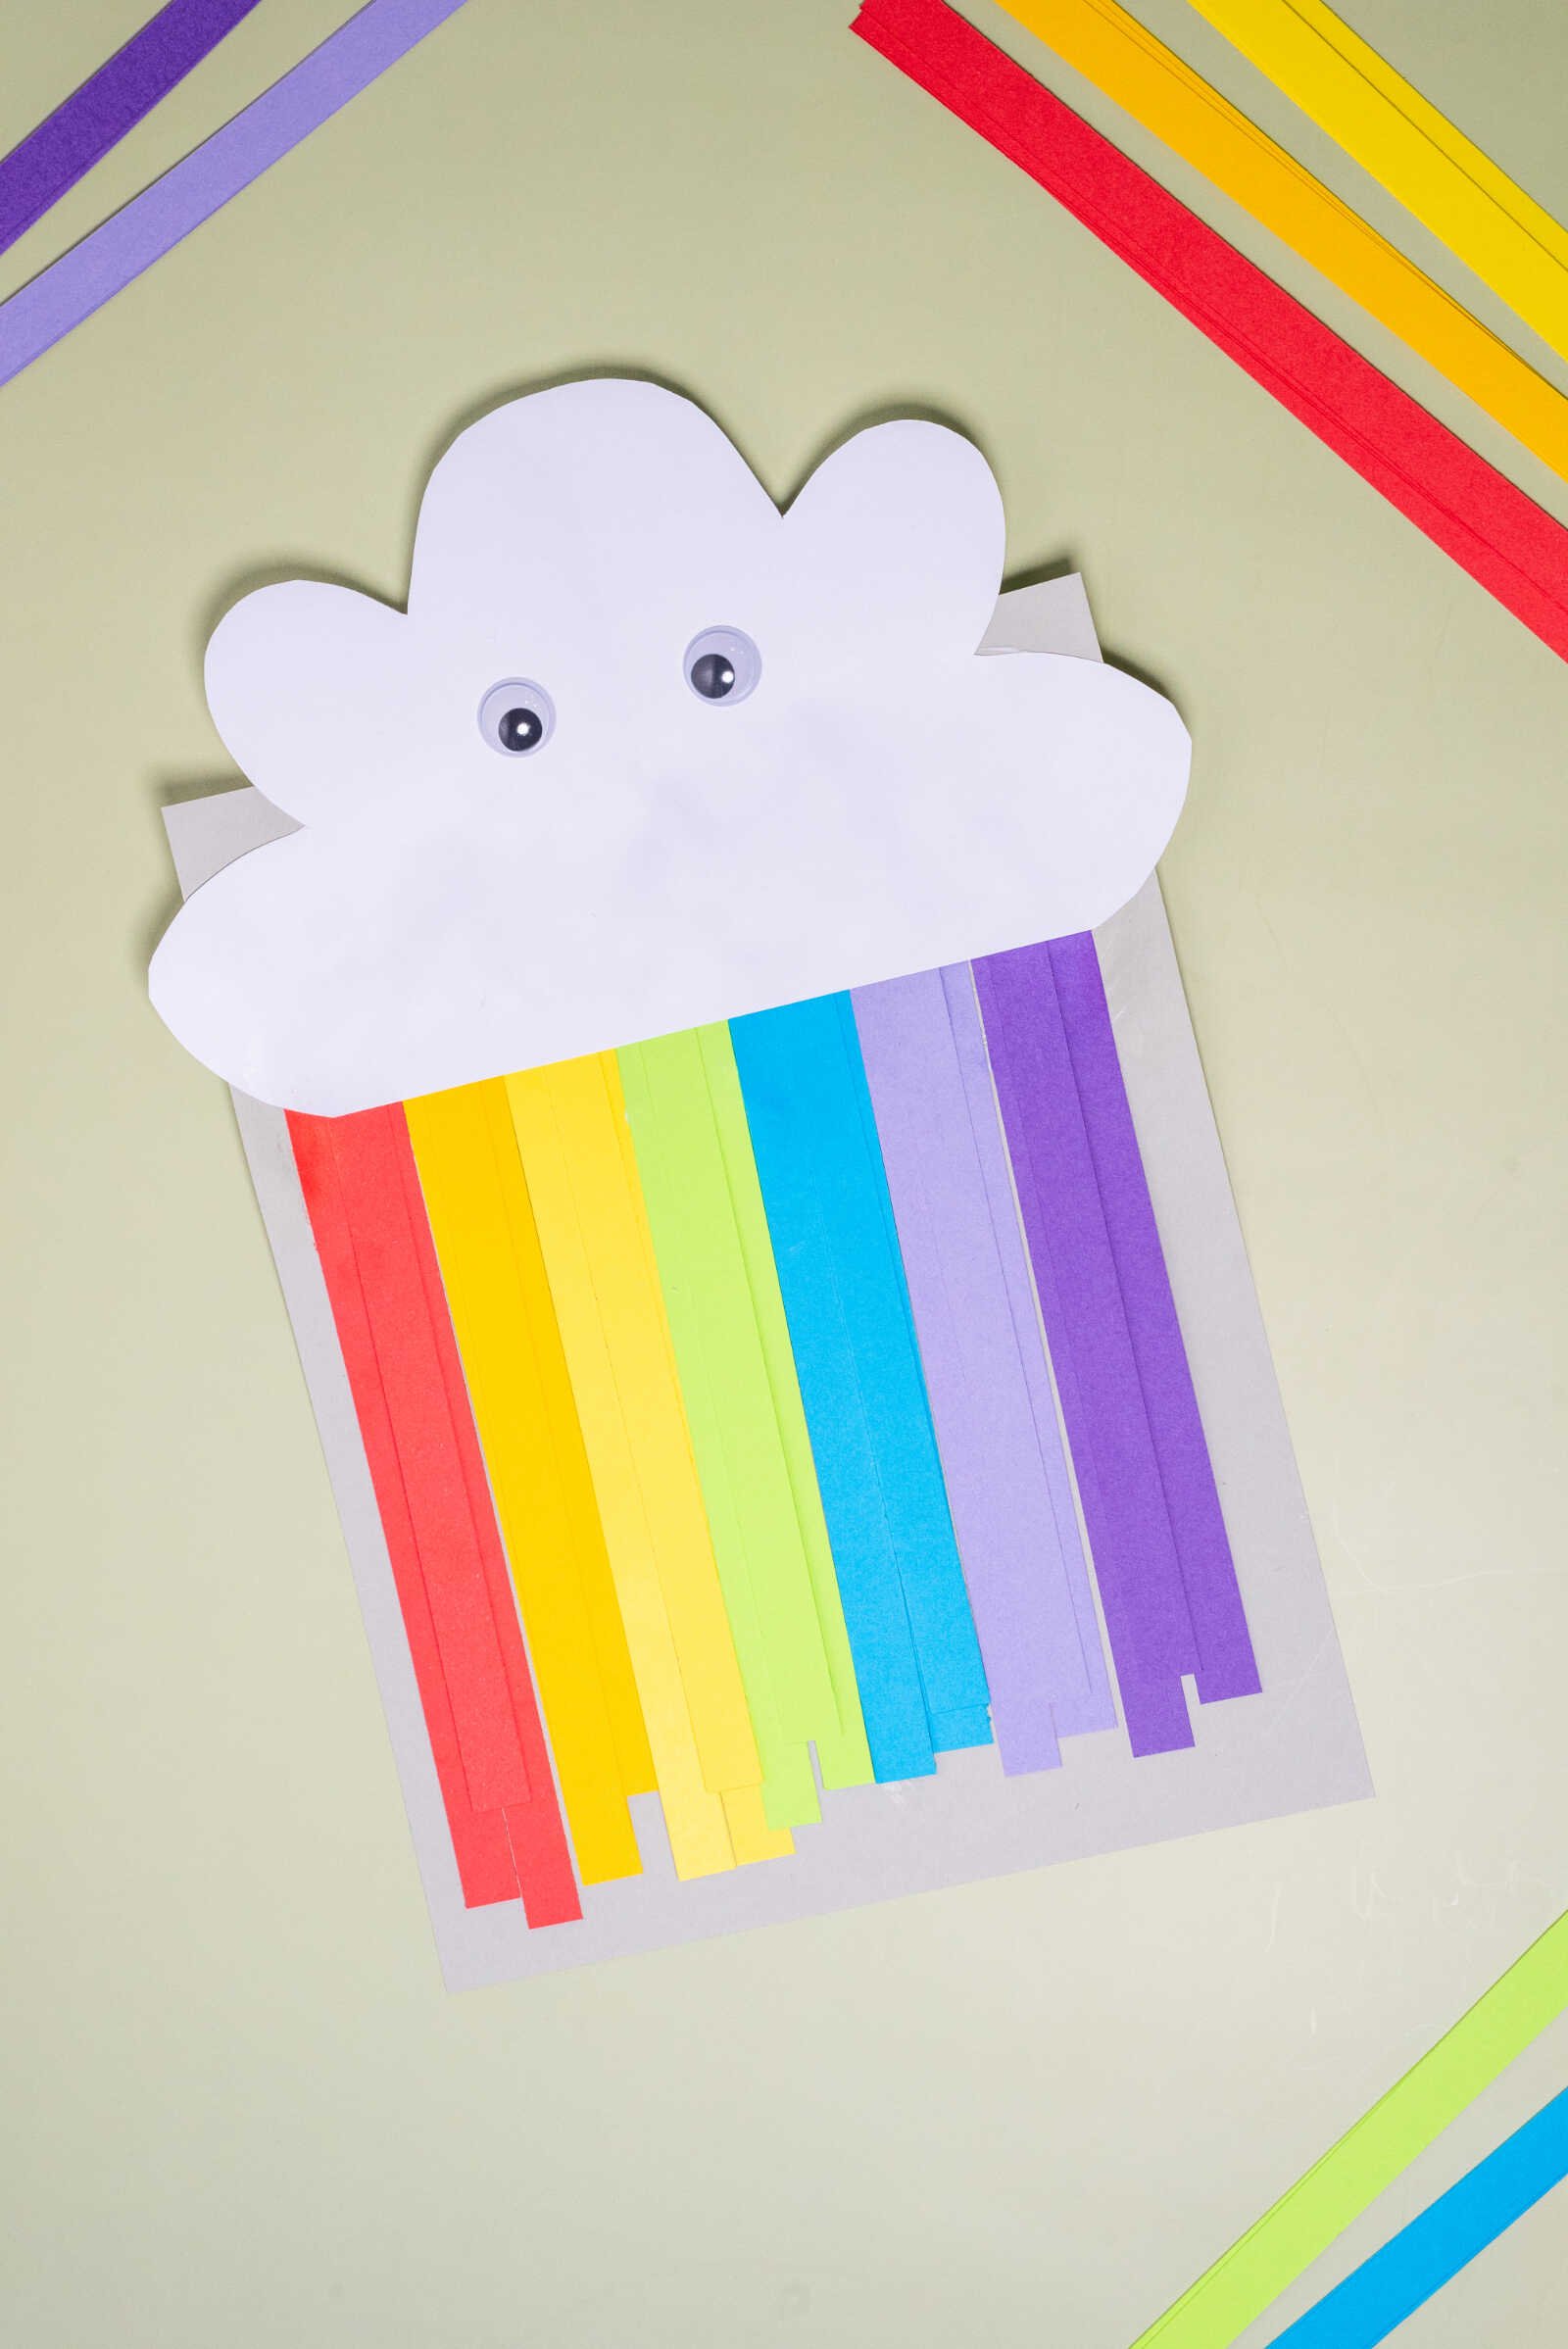
Table of Contents
Why Kids Love This Rainbow Cloud Craft
There’s something magical about rainbows—they’re bright, happy, and full of imagination. Pair that with a fluffy white cloud and you have a craft that feels both whimsical and comforting.
This project is especially great because:
- It uses simple, affordable materials
- Encourages fine motor skill development
- Teaches color recognition and sequencing
- Allows room for creative expression
- Works well for groups or individual crafting time
It’s also low-mess and easy to prep, which makes it a favorite for busy parents and teachers alike.
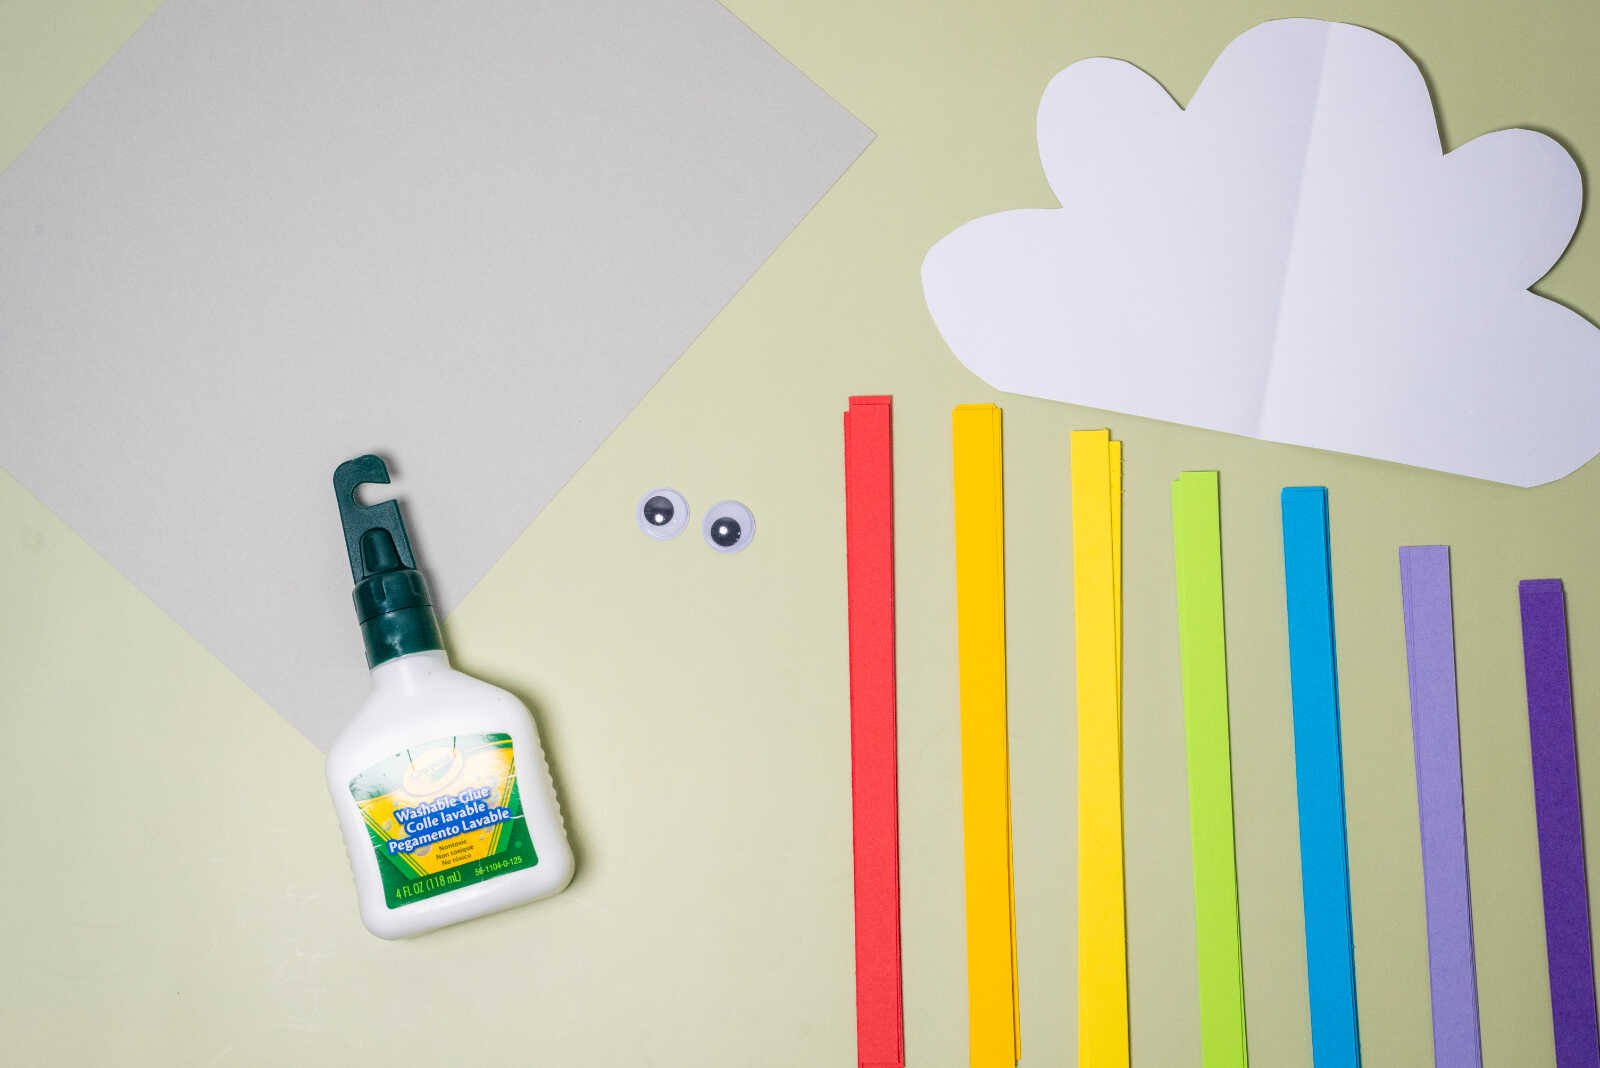
Materials Needed
One of the best things about this craft is how accessible it is. You likely already have everything you need at home or in your classroom.
- White paper or cardstock (for the cloud)
- Colored paper strips (red, orange, yellow, green, blue, purple)
- Glue
- Googly eyes or black marker (optional)
Tools Needed
- Scissors
- Pencil (optional, for tracing)
Step-by-Step Instructions
Follow these simple steps to create your own rainbow cloud masterpiece.
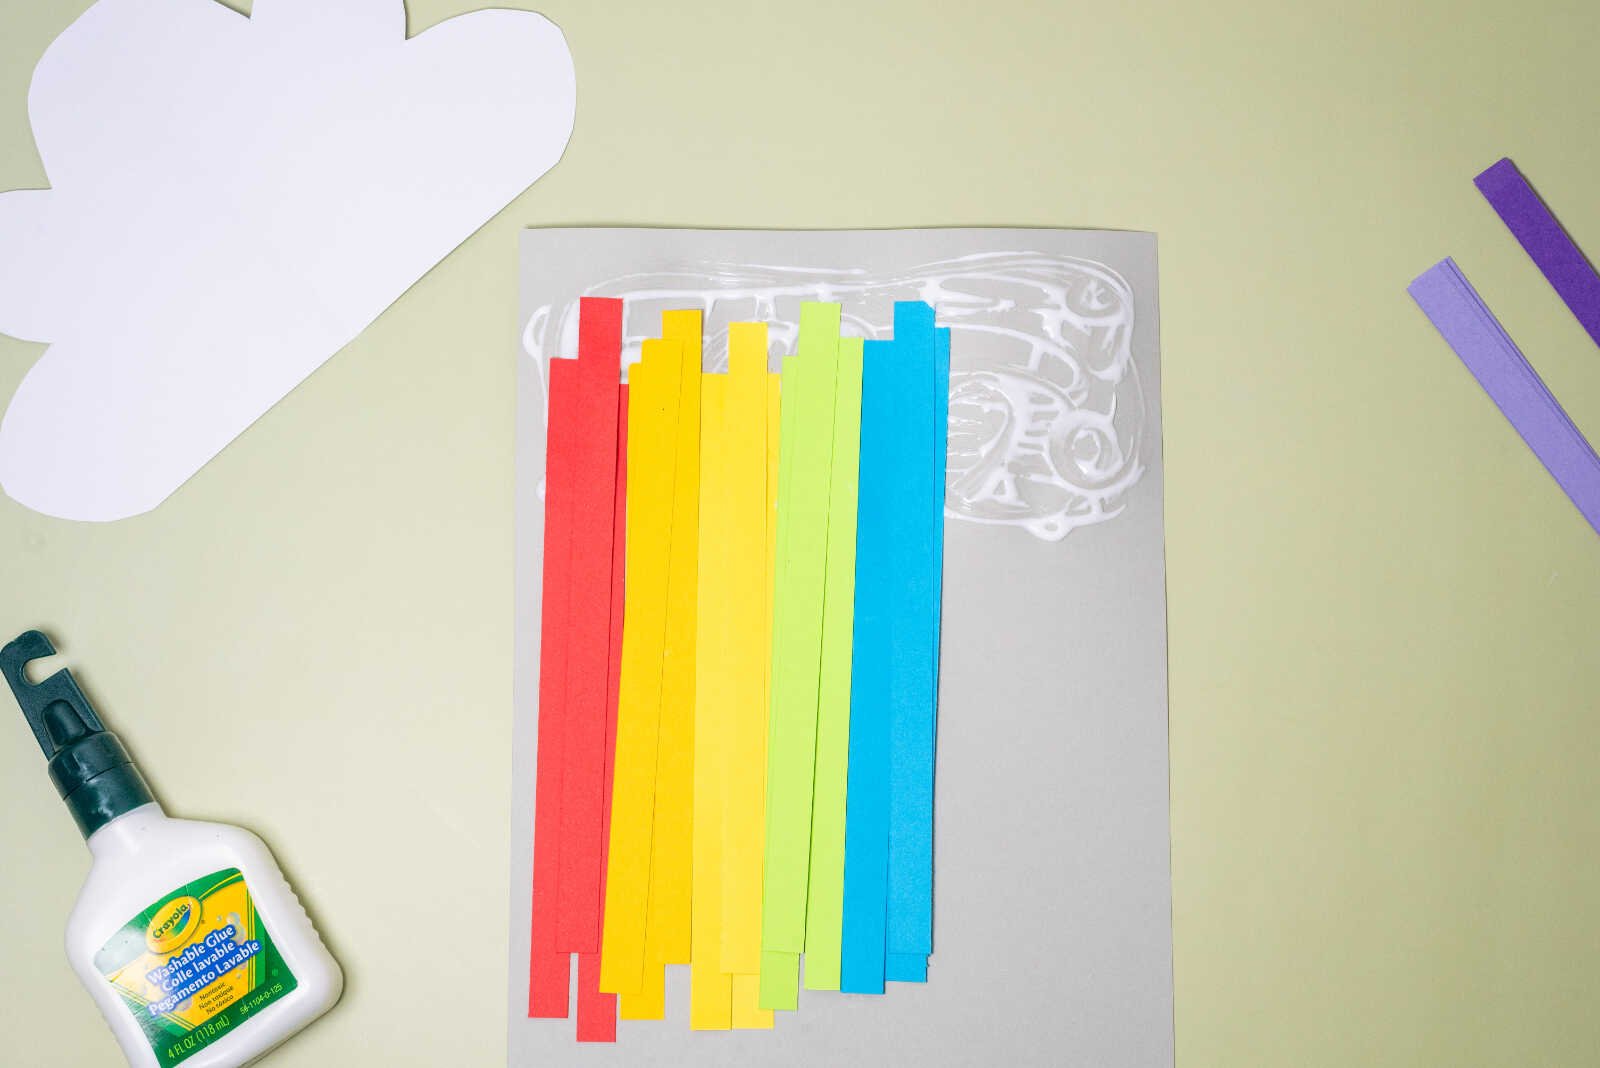
1. Prepare the Rainbow Strips
Start by cutting your colored paper into long, even strips. These strips will form the flowing rainbow beneath your cloud.
You can:
- Cut strips about ½ to 1 inch wide
- Keep them all the same length for a neat look
- Or vary the lengths slightly for a playful effect
Encourage kids to line up the colors in classic rainbow order:
Red, orange, yellow, green, blue, and purple
This is a great opportunity to reinforce color recognition and sequencing skills.
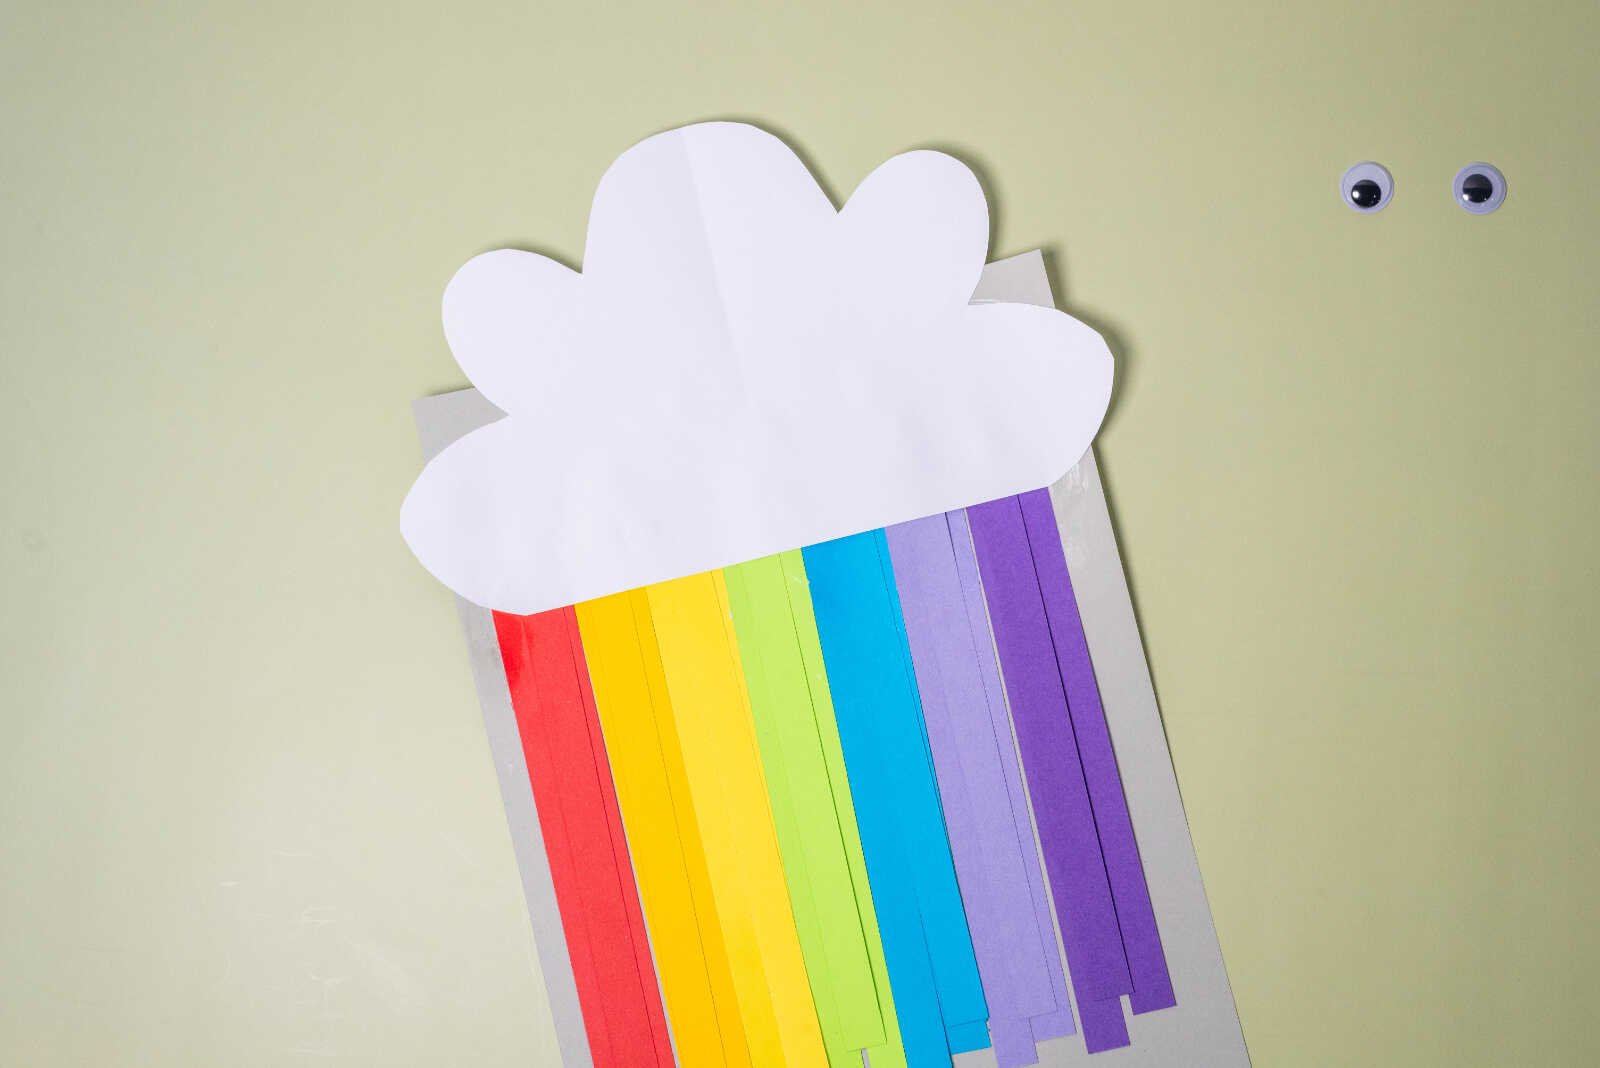
2. Create the Cloud Shape
Next, draw or trace a cloud shape onto white paper or cardstock.
- Younger kids may need help tracing or cutting
- Older kids can design their own unique cloud shapes
- Puffy, rounded edges work best for that classic cloud look
Once drawn, carefully cut out the cloud shape.
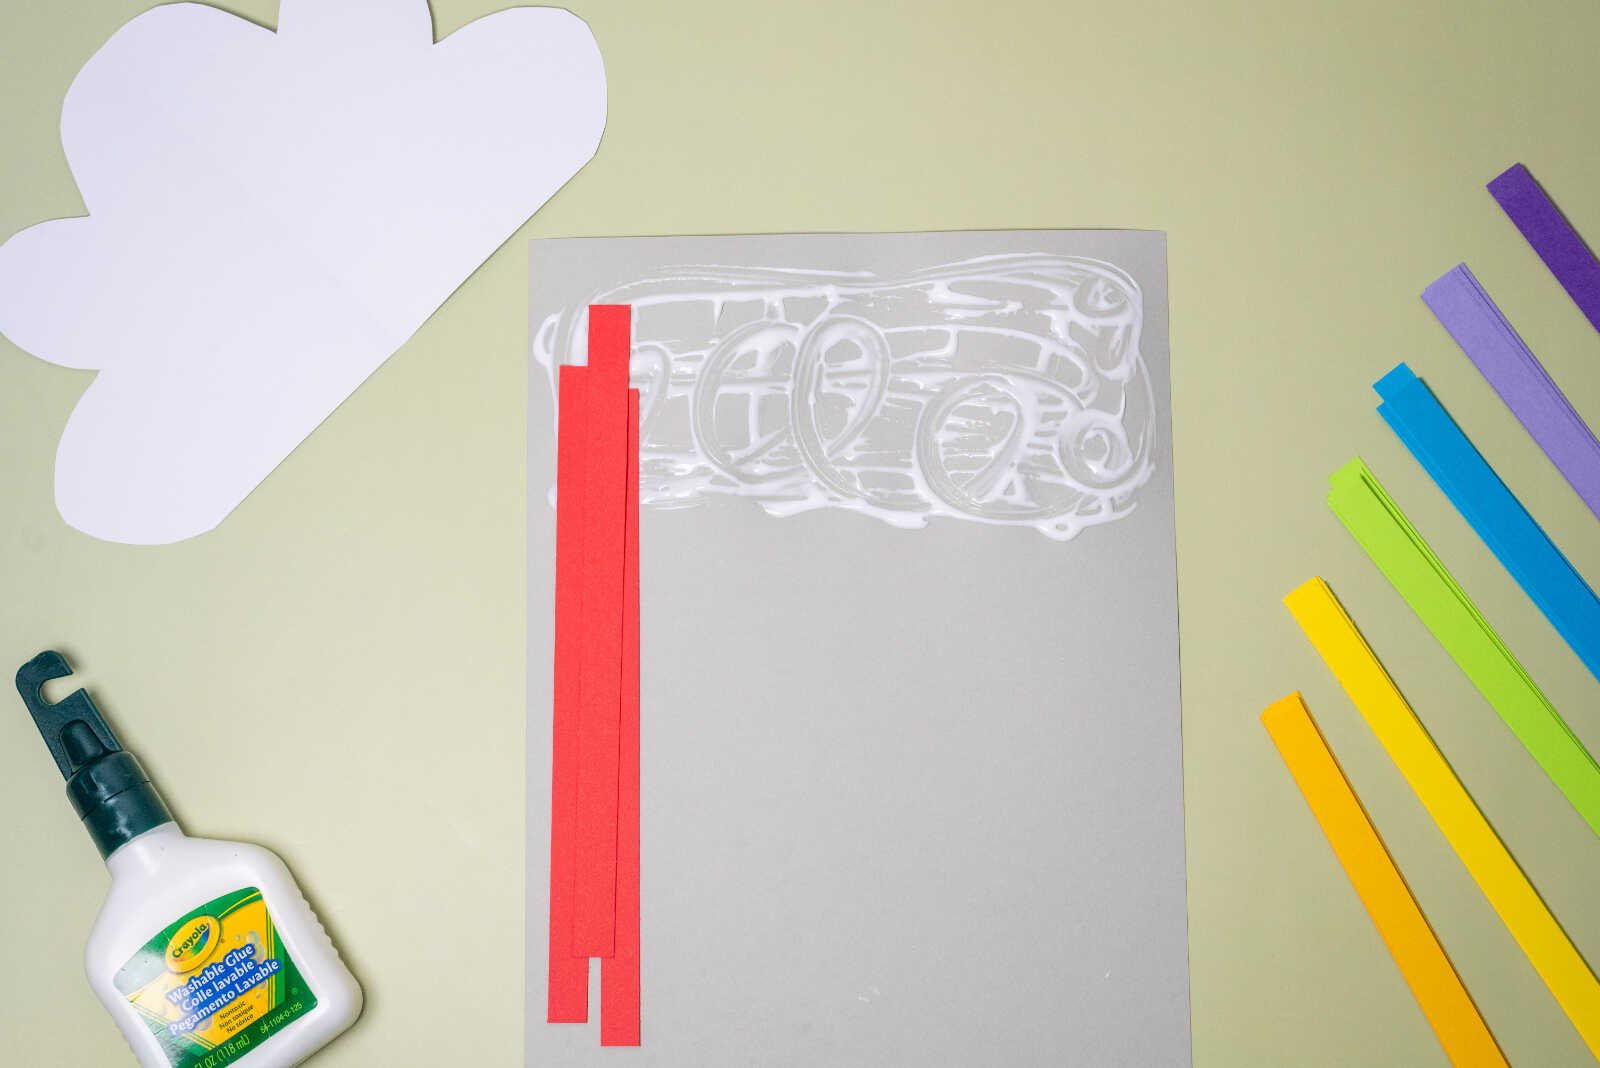
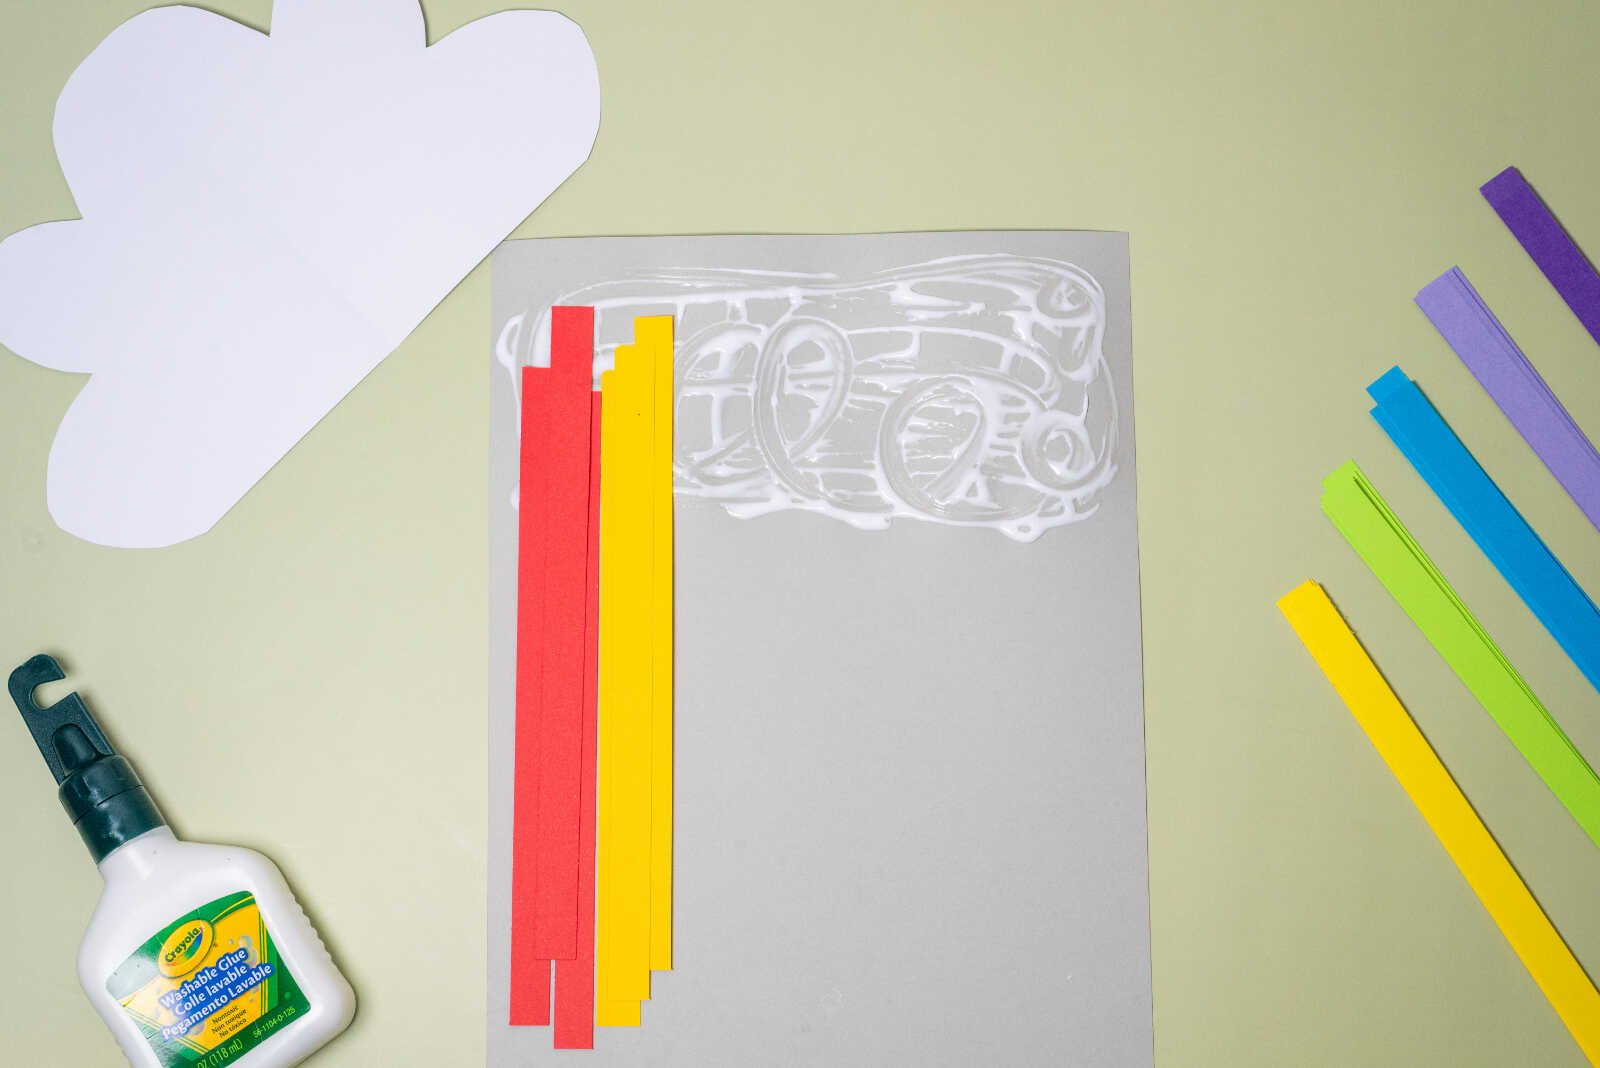
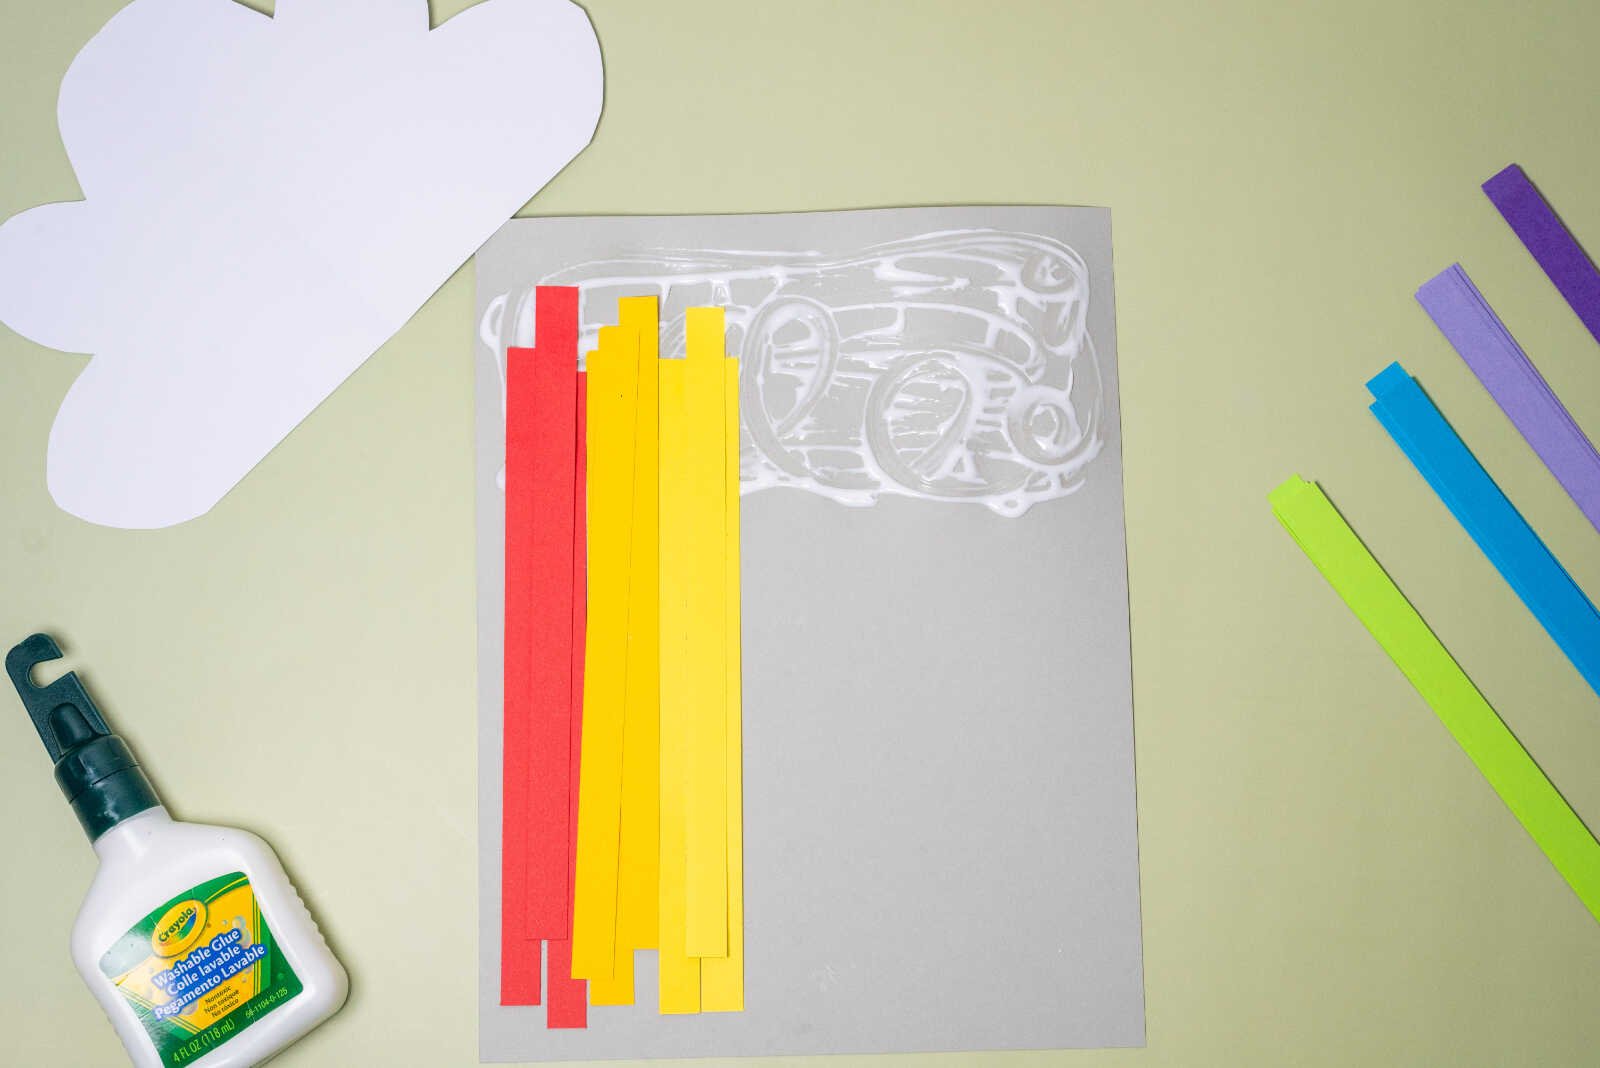
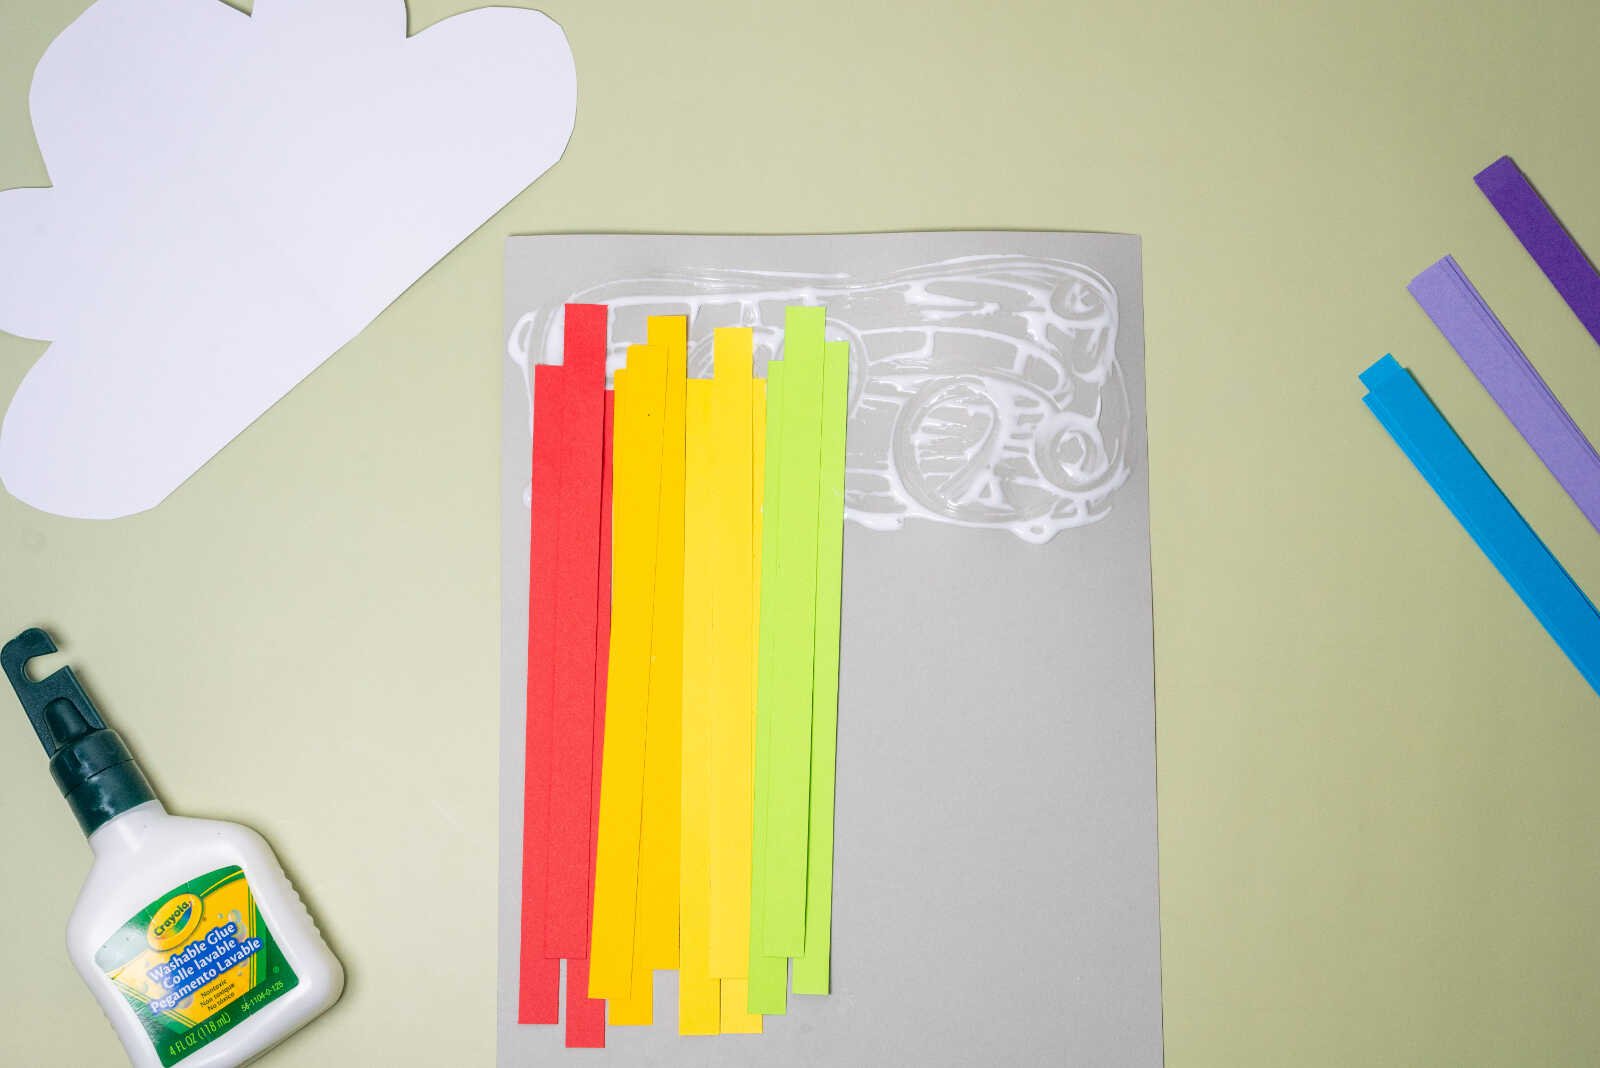
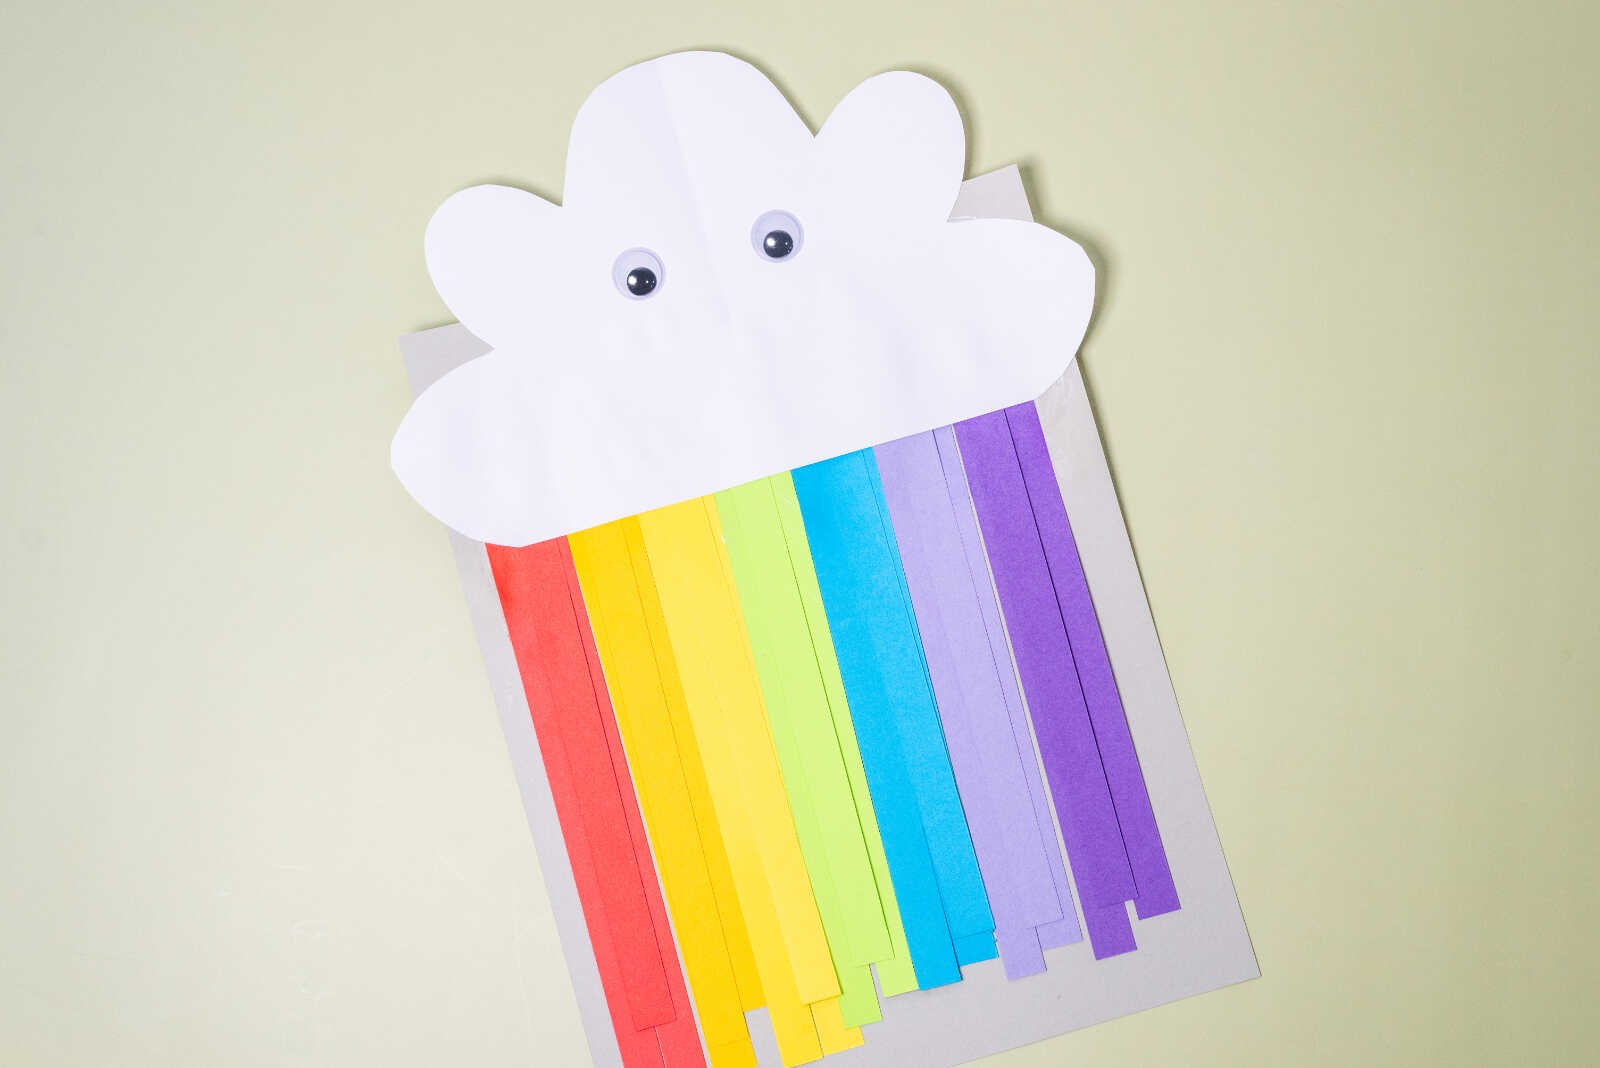
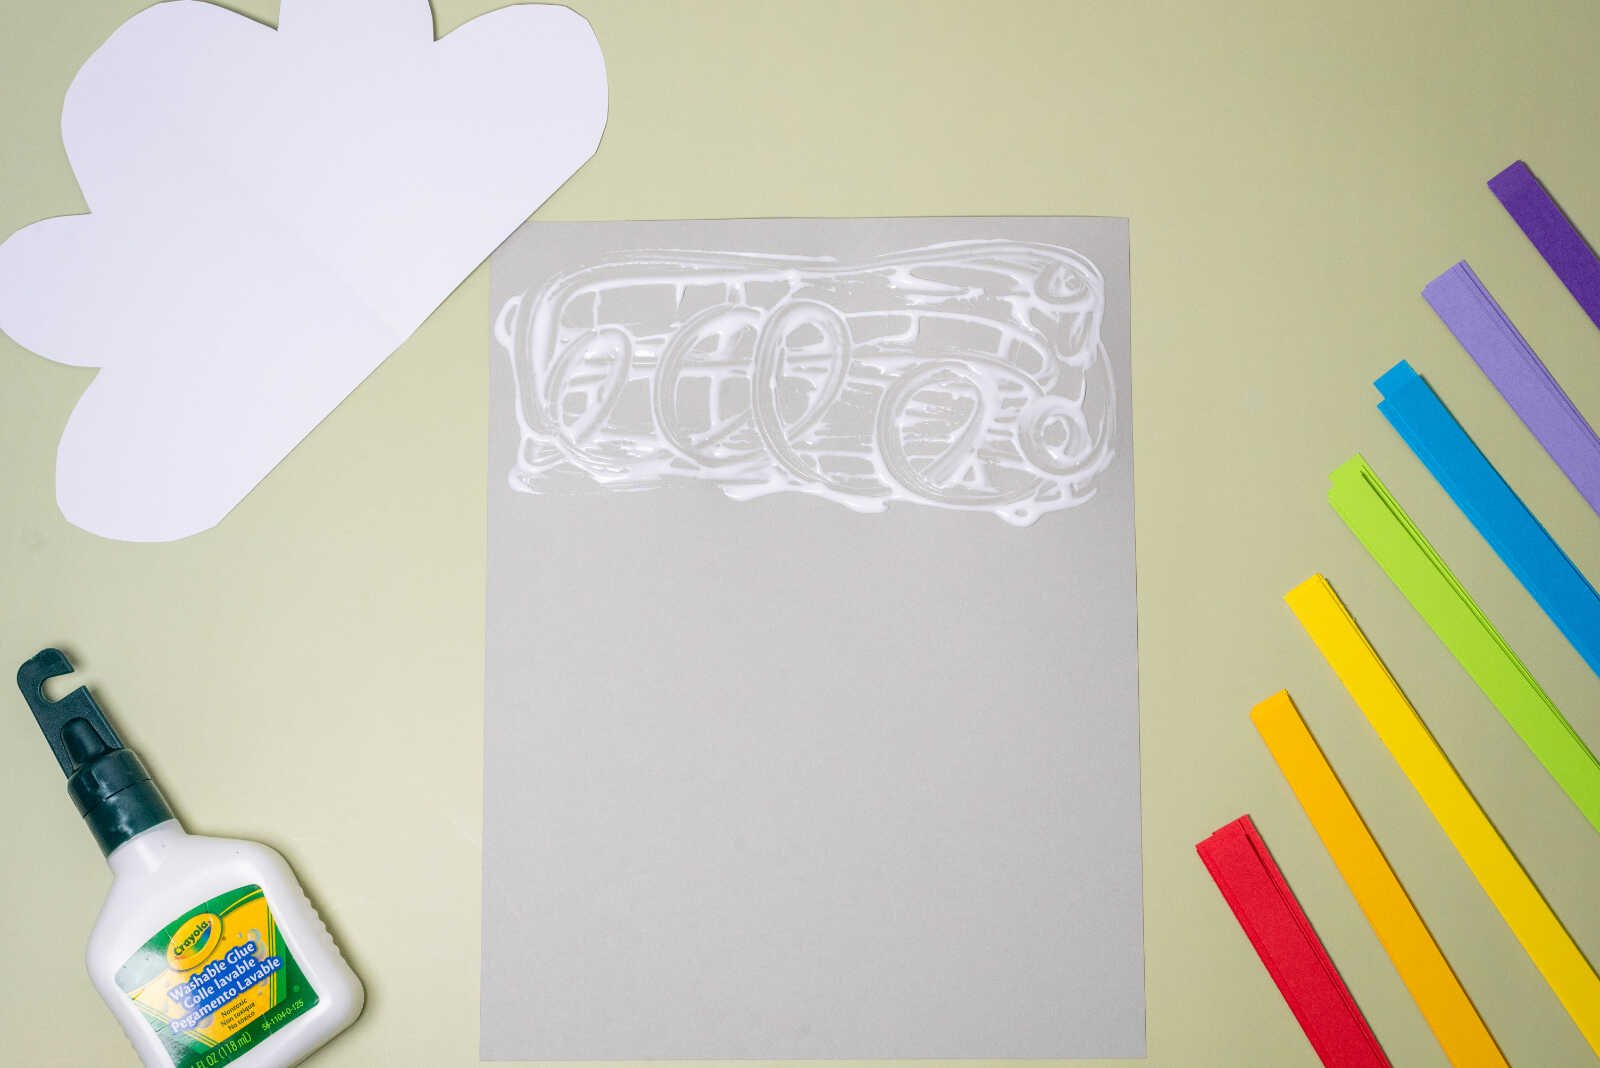
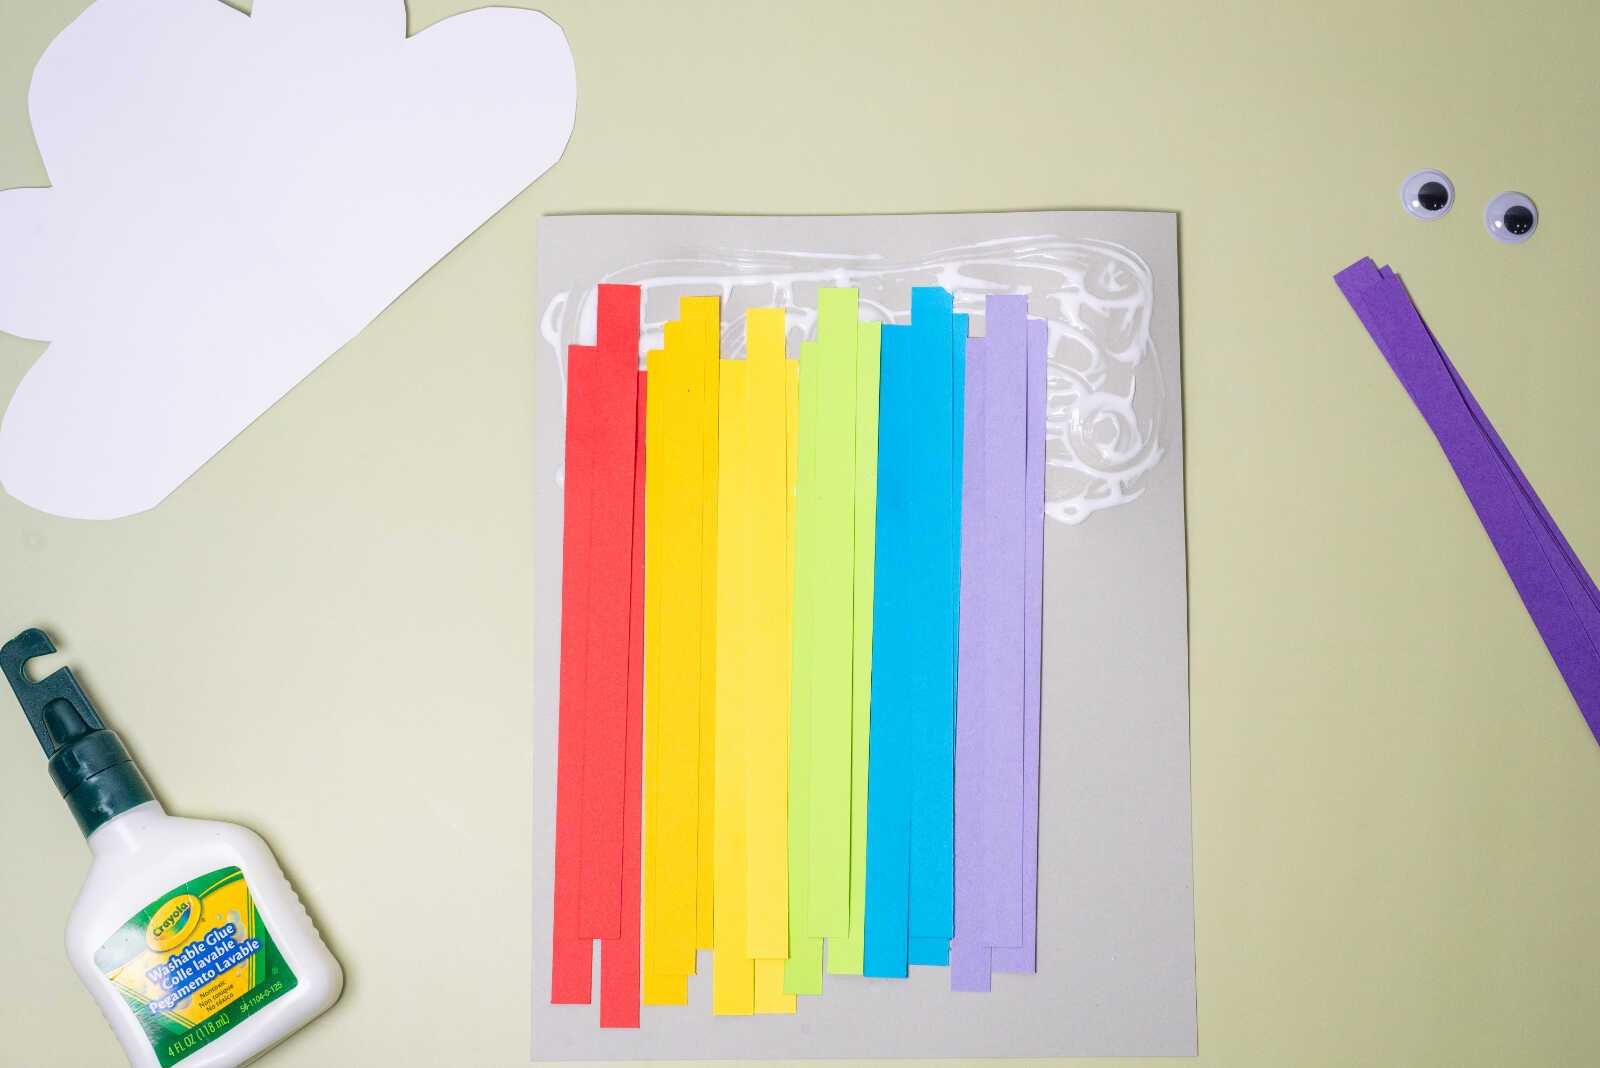
3. Attach the Rainbow
Now it’s time to bring your rainbow to life!
- Flip the cloud over so the back is facing up
- Arrange the colored strips vertically in rainbow order
- Glue the top ends of each strip to the back of the cloud
Make sure the strips are spaced evenly and aligned neatly. This step is where the craft really starts to come together.
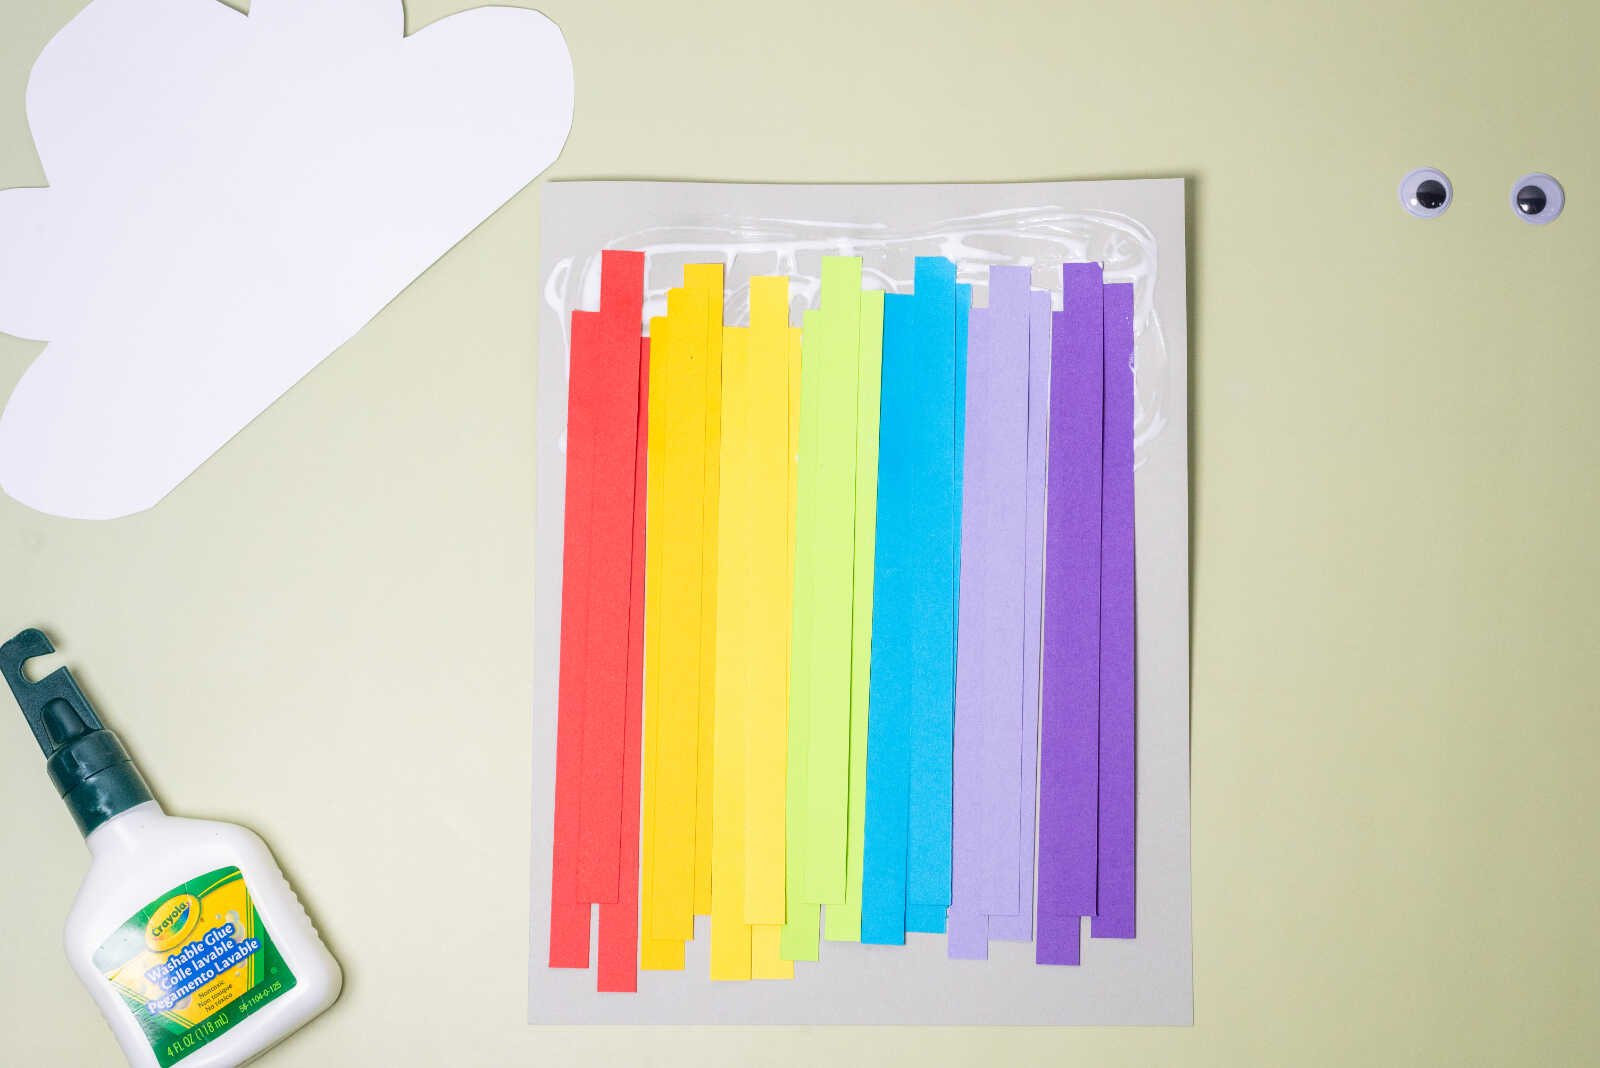
4. Secure and Trim
After the glue has had a moment to set:
- Flip the craft over to the front side
- Check that all strips are secure
- Trim the bottom edges if needed so they’re even
This gives your rainbow a clean, polished look.
5. Add Fun Details
This is where kids can let their creativity shine!
Optional ideas:
- Glue on googly eyes for a silly, animated cloud
- Draw a smiling face with a marker
- Add rosy cheeks, eyelashes, or even eyebrows
- Decorate the cloud with glitter or stickers
Each cloud can have its own personality, making every craft unique.

6. Let It Dry
Allow the craft to dry completely before moving or displaying it.
Once dry, your rainbow cloud is ready to brighten up any space!
Creative Variations to Try
Once you’ve mastered the basic version, try switching things up with these fun variations:
1. Curled Rainbow Strips
Use a pencil to gently curl the ends of the paper strips for a 3D effect. This adds movement and texture to your rainbow.
2. Tissue Paper Cloud
Instead of plain white paper, glue small pieces of tissue paper or cotton balls onto the cloud for a fluffy, textured look.
3. Hanging Mobile
Attach a string to the top of the cloud and hang it from the ceiling or a hook. It makes a beautiful decoration for bedrooms or classrooms.
4. Glitter Rainbow
Add a little sparkle by outlining the strips with glue and sprinkling glitter on top.
5. Weather Theme Craft
Turn this into a mini weather lesson by pairing it with crafts like:
- Rain clouds with blue yarn “raindrops”
- Sun cutouts with paper rays
- Thunderstorms with lightning bolts
Educational Benefits
This rainbow cloud craft isn’t just fun—it’s also packed with learning opportunities.
Fine Motor Skills
Cutting, gluing, and arranging paper strips help strengthen hand muscles and coordination.
Color Recognition
Kids practice identifying and ordering colors in the correct rainbow sequence.
Creativity and Self-Expression
Adding faces, decorations, and personal touches allows children to express their individuality.
Following Directions
Step-by-step crafting helps kids learn how to follow instructions and complete a project from start to finish.
Tips for Success
To make your crafting session smooth and enjoyable, keep these tips in mind:
- Pre-cut strips for younger kids to save time and reduce frustration
- Use cardstock for sturdier clouds that hold their shape better
- Keep extra glue handy—little crafters tend to use more than expected
- Cover your workspace with newspaper or a craft mat for easy cleanup
- Encourage creativity—there’s no “wrong” way to make a rainbow cloud
Perfect for Any Occasion
This rainbow cloud craft fits beautifully into many themes and events:
- Rainy day activities at home
- Spring and weather units in classrooms
- St. Patrick’s Day crafts (just add a pot of gold!)
- Birthday party craft stations
- Playdates and homeschool projects
It’s a versatile activity that can be adapted for different ages and group sizes.
Display Ideas
Once your rainbow clouds are finished, don’t just tuck them away—show them off!
- Tape them to windows for a sunlit glow
- Create a colorful bulletin board display
- Hang them from the ceiling for a floating effect
- Add them to a seasonal décor setup
They instantly brighten any room and add a cheerful, handmade touch.
Final Thoughts
This rainbow cloud craft is proof that simple materials can create something truly joyful. It’s easy enough for young kids to enjoy, but flexible enough to inspire creativity at any age.
With just paper, glue, and a little imagination, you can turn an ordinary afternoon into a colorful crafting experience full of smiles. Whether you’re a parent, teacher, or caregiver, this project is a wonderful way to encourage creativity, learning, and fun—all at the same time.
So gather your supplies, set up your crafting space, and let your little ones create their own bright and beautiful rainbow clouds.

4 Comments